
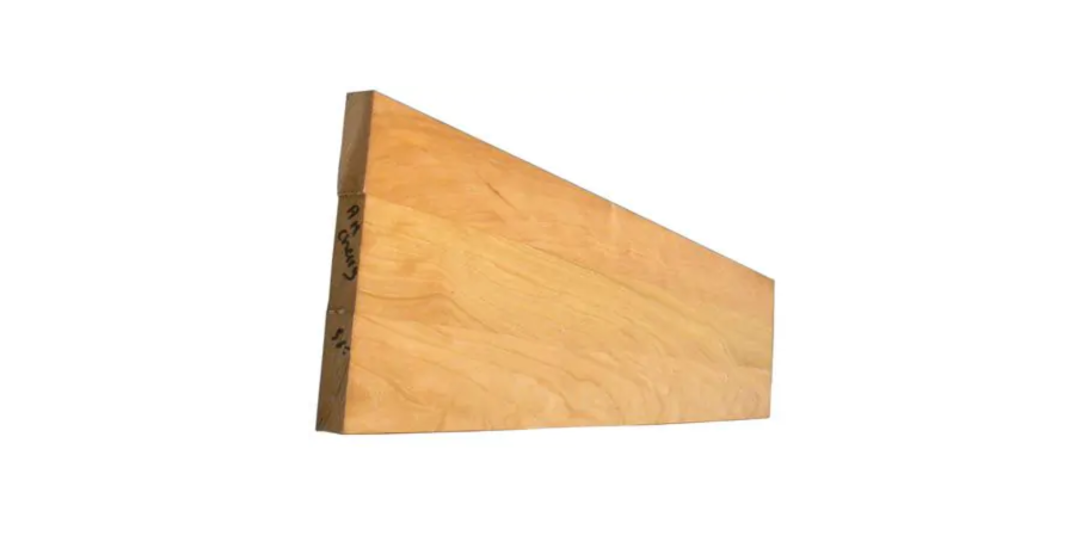
A staircase is seen from several directions, and each view emphasizes a different part of it. From above, the horizontal surfaces dominate; from the hallway, the vertical faces become more noticeable. Choosing stair treads and risers together helps homeowners judge the whole composition instead of approving two separate finishes that have never been viewed side by side.
The practical side of that decision matters just as much. The materials must suit the planned construction and connect properly with the surrounding floor and landing. A coordinated project therefore needs both a finish plan and an itemized installation plan.
Give the Horizontal and Vertical Surfaces Clear Roles
The tread is the horizontal surface of a step, while the riser is its vertical face. On a closed staircase, repeating those two elements creates much of the visible pattern. A useful design discussion begins by deciding how strongly each part should stand out.
Wood treads with white risers create a different appearance from a staircase using wood on both surfaces. Neither choice is a universal answer for every interior. Compare the alternatives against the existing floor, wall color, railing, and trim before deciding which relationship looks right in the home.
Consider the views that people actually see each day. Stand at the entrance, in the adjoining room, and at the upper landing. Take photographs for reference, but make the final color decision with physical samples in the space.
The railing and newel posts should remain part of the conversation even if they are staying. Their existing color and shape will sit beside the new surfaces. Including them in the sample review can prevent a stair finish from feeling disconnected from the parts that are not being replaced.
Compare Samples as a Group
Lay out the tread sample, proposed riser finish, and any adjacent flooring together. Add a trim sample if that color is changing too. Looking at the group is more informative than approving each item in isolation on a different day.
Check the samples under the lighting that the staircase receives. A hallway with limited daylight may look quite different at night than it does in a product photograph. Move the samples to both ends of the stairs rather than judging them only beside one window.
If white risers are being considered, clarify whether the product is supplied primed or fully finished. Priming and a completed paint finish represent different stages of work. Have the installer or painter confirm what remains to be done and which finishing instructions apply.
Keep the approved samples or a clear record of their product descriptions available through ordering. If a substitution is proposed, compare it with the full group again. A similar name does not establish that the replacement will create the same appearance beside the other materials.
Resolve Thicknesses and Transitions Before Ordering
Finish selections need to be checked against the installation method. Retrofit components and traditional components are intended for different uses, so avoid treating them as interchangeable because their face colors match. Ask the installer to identify the appropriate system for the existing staircase.
Record the selected products’ actual dimensions from their current listings or written specifications. If a general guide and an individual listing differ, have the supplier clarify the exact item being ordered. Do not build the installation plan around an unresolved measurement.
Review how the tread and riser meet, how exposed ends will be finished, and how the top of the flight connects with the landing. Include the flooring at the bottom as well. These details should be checked together before cutting or installing any material.
Have the installer assess the completed staircase geometry and applicable local requirements. A decorative plan alone cannot establish that the finished arrangement is suitable. Questions about the existing structure or a change in construction should be resolved before the material order is finalized.
Turn the Design Into a Complete Project List
Create a numbered drawing of the staircase and assign each required component to a location. Count riser faces directly instead of assuming their number from the tread count. List the landing and starting step separately if their requirements differ from the main flight.
Use one shared record for the supplier, installer, and homeowner:
- Tread type, wood species, finish, size, and required return style.
- Riser material, thickness, finish condition, and quantity.
- Landing components and details at the upper and lower floors.
- Trim pieces and any finishing work needed on exposed edges.
- The approved samples and written answers to outstanding product questions.
- Delivery arrangements and the agreed sequence for inspection and installation.
When materials arrive, compare them with the order before they are cut or installed. Check quantities, product types, finishes, and visible condition, and raise discrepancies promptly through the supplier’s stated process. Keep the component labels matched to the numbered plan so similar pieces are not confused.
A successful plan for stair treads and risers connects appearance with the details needed to build it. Use the product choices at Woodstairco.com alongside the measured drawing, finish samples, and installer review to complete that plan. Settle the unanswered questions before ordering, then carry the same agreed details through delivery and installation.